The fundamentals of surface preparation are important whether you are bonding, fairing, or applying fabrics.
The success of the epoxy application depends not only on the strength of the epoxy but also on how well the epoxy adheres to the surface. Unless you are bonding to partially cured epoxy, the strength of the bond relies on the epoxy’s ability to mechanically “key” into the surface. Following these three steps of surface preparation is critical to primary and secondary epoxy bonding operations.
For good adhesion, epoxy bonding surfaces should be clean, dry, and sanded.
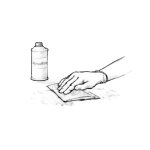
1. Clean
Epoxy bonding surfaces must be free of any contaminants such as grease, oil, wax, or mold release. Clean contaminated surfaces with lacquer thinner, acetone, or another appropriate solvent. Wipe the surface with paper towels before the solvent dries. Clean surfaces before sanding to avoid sanding the contaminant into the surface. Follow all safety precautions when working with solvents.
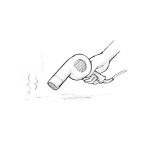
2. Dry
All epoxy bonding surfaces must be as dry as possible for good adhesion. Accelerate drying by warming the bonding surface with a hot air gun, hair dryer, or heat lamp. Use fans to move the air in confined or enclosed spaces. Watch for condensation when working outdoors or whenever the temperature of the work environment changes.
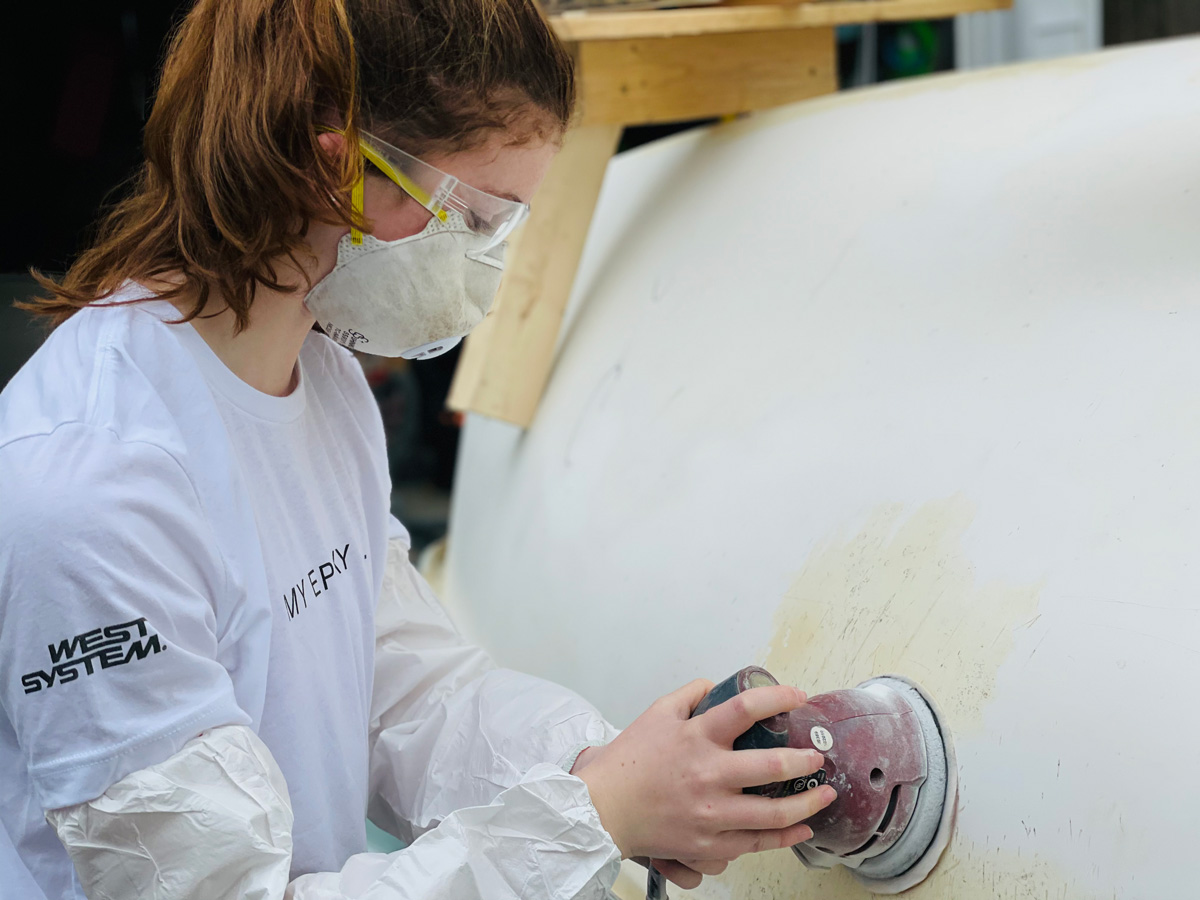
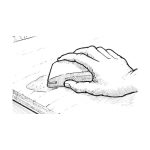
3. Sanded
Before applying epoxy, sand smooth non-porous surfaces—thoroughly abrade the surface. 80-grit aluminum oxide paper will provide a good texture for the epoxy to “key” into. Be sure the surface to be bonded is solid. Remove any flaking, chalking, blistering, or old coating before sanding. Remove all dust after sanding.
Surface preparation for various materials
Cured epoxy
Unless you’re using WEST SYSTEM’s blush-free 207 Special Clear Hardener, amine blush may appear as a wax-like film on cured epoxy surfaces. It is a by-product of the curing process and may be more noticeable in cool, moist conditions. Amine blush can clog sandpaper and inhibit subsequent bonding, but this inert substance can easily be removed.
To remove the blush, wash the surface with clean water (not solvent) and an abrasive pad, such as Scotch-Brite™ 7447 General Purpose Hand Pads. Dry the surface with paper towels to remove the dissolved blush before it dries on the surface. Sand any remaining glossy areas with 80-grit sandpaper. Wet-sanding the epoxy will also remove the amine blush. If a release fabric is applied over the surface of fresh epoxy, amine blush will be removed when the release fabric is peeled from the cured epoxy and no additional sanding is required.
Epoxy surfaces that have not been fully cured may be bonded to or coated with epoxy without washing or sanding. Before applying coatings other than epoxy (paints, bottom paints, varnishes, gelcoats, etc.), allow epoxy surfaces to cure fully, then wash and sand.
Hardwoods
Sand with 80-grit paper before applying epoxy.
Teak/oily woods
Wipe with acetone 15 minutes before coating with epoxy. Solvent removes the oil at the surface and allows the epoxy to penetrate. Be sure the solvent has evaporated before coating. G/flex Epoxy is optimum for use with oily wood species.
Porous woods
No special preparation is needed before applying the epoxy. If the surface is burnished, possibly by a dull planer or saw blades, sand with 80-grit paper to open pores. Remove dust.
Steel or lead
Remove contamination, sand, or grind to bright metal, coat with epoxy then sand fresh epoxy into the surface. Re-coat or bond after first epoxy coat gels.
Aluminum
Dry sand with 80-grit before applying the epoxy.
Polyester laminates
Clean contamination with a silicone and a wax remover such as DuPont Prep-Sol™ 3919S. Sand with 80-grit paper to a dull finish, then apply epoxy.
Plastics
Adhesion with epoxy varies. G/flex epoxy is the optimum choice for bonding plastics. Hard, rigid plastics such as PVC, ABS, and styrene achieve better adhesion with good surface preparation and an adequate bonding area. After sanding, flame oxidizing (by quickly passing a propane torch over the surface without melting the plastic) can improve epoxy bonding in some plastics. It’s a good idea to conduct an adhesion test on a plastic that you are uncertain about.
Types of contaminants that good surface preparation removes
Oil, grease, wax, etc.
There is no good reason to wipe a surface with an organic solvent unless there is evidence that an organic contaminate is present on the surface. We are all familiar with solvents like acetone, lacquer thinner and proprietary mixtures like DuPont Prep-Sol™ formulated to remove specific contaminants. Most solvents of this type will remove organic contaminants such as oil, grease, wax, etc. Wiping a surface with an organic solvent may seem like a great idea, but these solvents may dissolve contaminates from rags and deposit them on the work surface where they can prevent epoxy adhesion. This is not a good practice for surface preparation. Silicone is a well-known mold-release agent and incidentally an ingredient in many home laundry fabric softeners. A surface can get contaminated by the silicone that the organic solvent extracts from a wiping rag. Many organic solvents can dissolve the man-made fibers found in rags. An acetone wipe-down can deposit plastic on the surface you are trying to clean. These dissolved plastics can act just like a mold release, which is the opposite of surface preparation for good epoxy adhesion.
If you suspect something is contaminating the surface that will require a solvent to remove, use plain white paper towels to wipe on the solvent and fresh paper towels to dry the surface. Do not use rags. To avoid re-depositing the contaminate on the surface, wipe off the solvent while it is still wet. Change paper towels frequently both for the wiping on the solvent and drying off the surface.
Sanding dust
Despite the dust, a freshly sanded surface is about as clean as a surface can get, but there is always an urge to rub your hand over it to check for smoothness. This is not a good practice unless you are wearing a clean glove. This is because your skin may deposit oils on the surface, contaminating the surface you’ve just prepared. The salt on your skin may speed corrosion of metal surfaces, resulting in epoxy adhesion problems.
Good methods for removing sanding dust are to vacuum it off, sweep it off with a non-contaminated bench brush, or wash it off with water. But you don’t need to remove every last particle of sanding dust to get good epoxy adhesion; bits of remaining sanding dust should have no more detrimental effect on adhesion than an epoxy filler, which is to say, don’t worry about it.
The manufacturers of sticky tack rags maintain that wiping a surface with their products will not leave a residue. However, it is probable that the rag will leave a residue although most paints and varnishes contain enough solvent to remove or dissolve the residue. Epoxy, in contrast, contains none of these aggressive solvents. Residue from sticky tack rags can cause adhesion problems and fisheyes in subsequent coats of epoxy. An alternative surface preparation method is to use a dry tack rag that will leave no residue.
Don’t use compressed air to remove sanding dust. Compressed air may contaminate the surface with compressor oil or water.
Other sources of contamination
Some shop heat sources are very capable of contaminating a surface. “Torpedo” (salamander) heaters do not burn cleanly. They are capable of exhausting large amounts of moisture and hydrocarbons, which can quickly accumulate on a work surface.
Zinc stearate is applied to some types of sandpaper to keep it from loading quickly. Stearate, a chemical similar to animal fat, has the potential to create a contaminated surface just by sanding. We suggest you use aluminum oxide or waterproof wet/dry sandpaper that has not been treated with stearate.
Amine blush, a byproduct of the epoxy curing process, may form under certain conditions. This waxy film is water-soluble, but many organic solvents are ineffective for removing it. That is why we suggest washing an epoxy surface with water (water clean enough to drink) using a Scotch-Brite™ pad (or wet sanding with waterproof wet/dry sandpaper) and drying it with paper towels before continuing with another operation. Soapy water, or water with ammonia or bleach, is not necessary and may leave its own residue, which is another possible surface contaminant.
How do I tell if my surface preparation is enough?
How do you know whether your surface preparation is truly effective? Wash it with water. This unsophisticated “water break test” works because many contaminants repel water. Simply apply water to the surface with a Scotch-Brite™ pad. If the water sheets off the surface evenly, the part is “clean.” If the water channels or beads on certain areas, the surface needs additional cleaning. You can do this test on small and large parts with equal ease. To be effective, the water used must be free of surfactants or other contamination that would cause the water to flow evenly even in the presence of contamination. The water break test will not indicate soap residues or other water-soluble films but will help remove them.
There are some materials that epoxy does not adhere to all that well no matter how you clean the surface. However, most adhesion problems can be traced to some form of surface contamination. The sources of contamination can be subtle or obvious, but when you absolutely must have good adhesion, the substrate must be clean.